How to Ripen Bananas Overnight: The Paper Bag Method Explained
Few kitchen disappointments are as reliable as a bunch of bananas that are still hard and green when you want one for breakfast. You could wait two or three days, or you could take ten minutes to set up a paper bag and let the fruit do the work for you. The method costs nothing, needs no equipment beyond a bag, and in most kitchens it will take a firm, green-tipped banana to a soft, sweet, speckled one overnight.
Why a Paper Bag Works
Bananas keep ripening after they are picked. They are what growers call a climacteric fruit, which means they carry on producing ethylene, a natural plant hormone that drives ripening, long after they leave the tree. The gas spreads from fruit to fruit, and it also ripens the banana producing it. Leave bananas loose on the counter and most of that ethylene drifts away into the room. Put them in a paper bag and the gas collects around them, so they ripen each other far faster.
The paper matters as much as the bag. Paper holds the ethylene in while still letting air and moisture move through it, which keeps the skins from turning slimy. A plastic bag, or a paper bag with a plastic window or lining, traps water as well as gas. You end up with damp fruit, mould spots and a faintly fermented smell rather than a sweeter banana. If you only have a plastic bag, don't reach for it.
What You'll Need
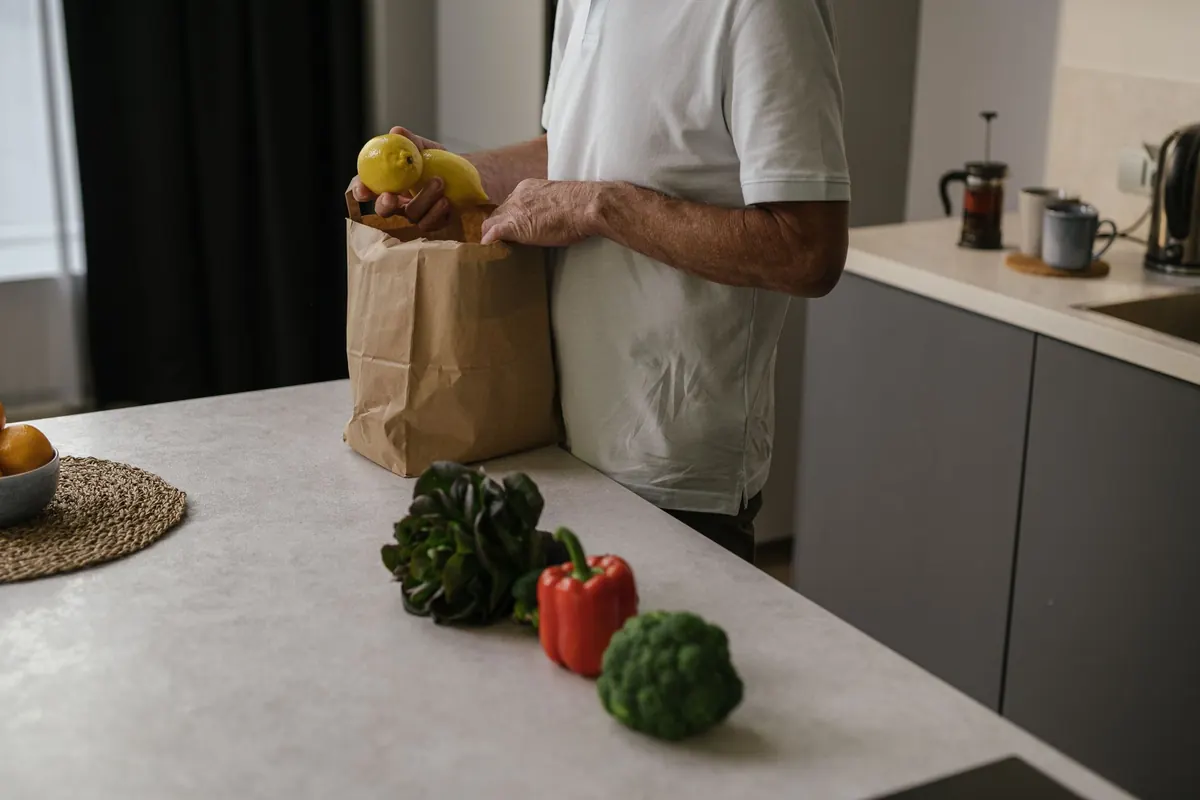
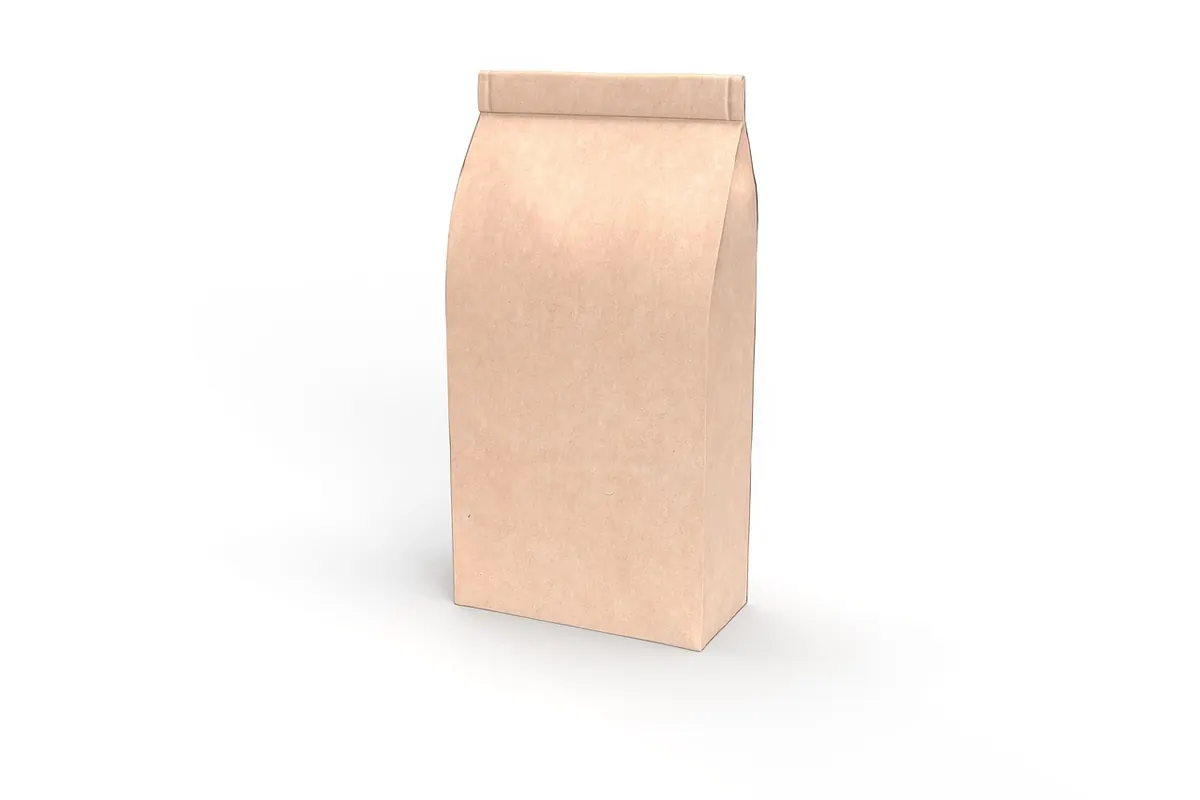
- A plain brown paper bag, a paper lunch bag, or a paper carrier bag without a plastic liner.
- Your bananas, still attached to each other in the bunch.
- One ripe companion fruit from the bowl, ideally a banana with brown spots, an apple or a pear.
- A clean tea towel, if you want to line the bag.
- A warm spot at room temperature, away from direct sun and radiators.
The Step-by-Step Method
- Work out where your bananas are starting from. A fully yellow banana with a green neck needs only a few hours. A hard, dark green banana may need a day or two. Be honest about this, because it decides when you check the bag.
- Leave the bunch intact. The crown, where the bananas join, is the busiest ethylene-producing part of the fruit. Snap bananas apart and you slow everything down, so keep them together.
- Add one ripe companion. A single speckled banana, a ripe apple or a soft pear will give the bag a head start. One is enough; a crowded bag holds too much moisture.
- Line the bag if your fruit is damp or cold. A tea towel in the base soaks up condensation. If the bananas have come straight from a shop chiller, let them sit at room temperature for half an hour first.
- Fold the top over loosely. Two or three turns is plenty. You want to trap the gas, not seal the bag shut.
- Put the bag somewhere warm and unremarkable. An 18–22°C kitchen is ideal. A windowsill in direct sun, a radiator top or the top of the fridge will push the fruit too far, too fast.
- Check every six to eight hours. Open the bag, feel the fruit and let any trapped moisture escape. Check at breakfast, at lunch and before bed if you are in a hurry.
- Take them out when they hit your preferred ripeness. Bananas develop most of their sweetness in the last stage, so a few brown speckles mean maximum sugar. Not everyone wants them that far gone; catch them where you like them.
How Long It Takes
Timings vary with temperature, variety and how cold the bananas were when you bought them, but these are realistic expectations for a normal kitchen.
- Green-tipped, firm: 10–14 hours. Bag them before bed and they are usually ready in the morning.
- Fully yellow with a green neck: 6–12 hours. Check sooner rather than later.
- Hard and fully green: 24–48 hours, with a change of companion fruit after the first day.
- Speckled and soft: nothing needed. They are already ripe, and a bag will only push them towards banana bread.
Warm, humid weather speeds everything up; a cold kitchen slows it down. If you are checking at the twelve-hour mark and nothing has changed, move the bag somewhere slightly warmer and give it another few hours. Don't be tempted to put it near a heat source to hurry things along.
What to Add to the Bag
Good additions
- A very ripe banana with brown spots, which is the strongest and cheapest source of ethylene you have.
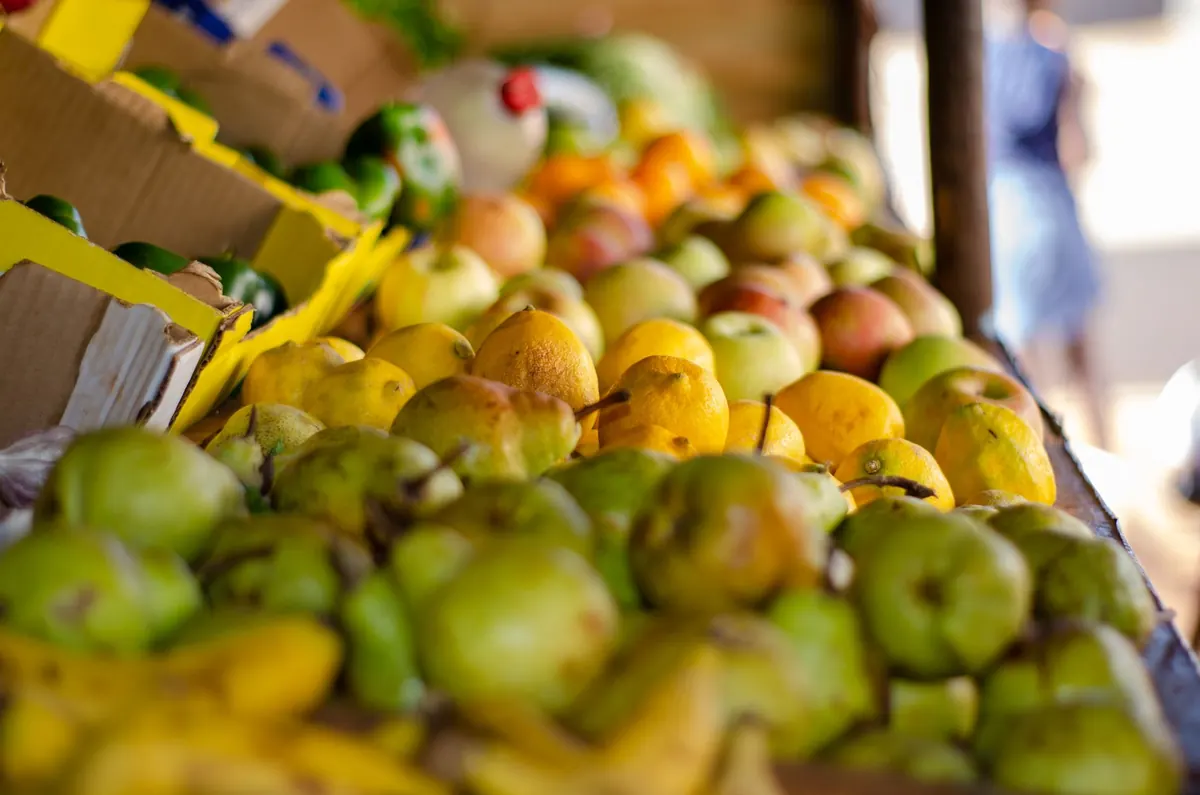
- An apple or a ripe pear.
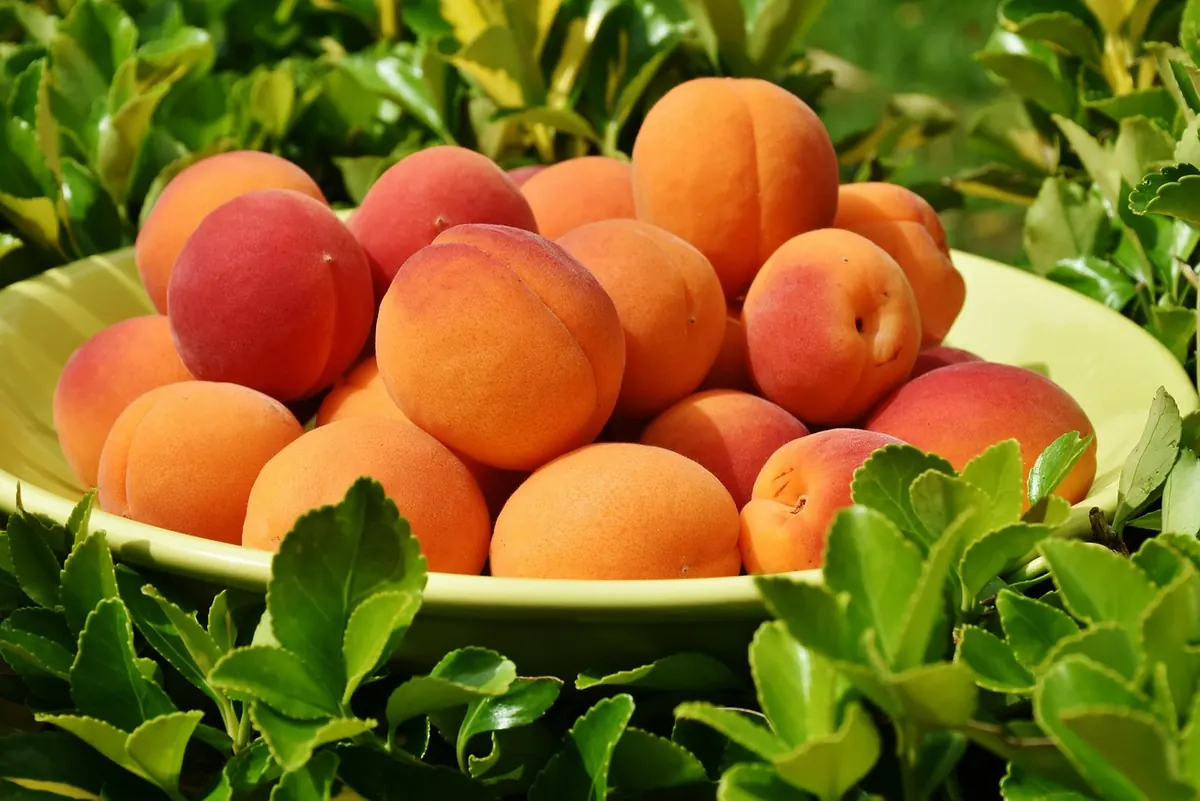
- A ripe tomato, peach, plum, apricot, kiwi or avocado, all of which release ethylene as they soften.
Leave these out
- Unripe fruit of any kind. A hard green apple gives off very little and simply takes up space.
- Citrus fruit, which produces almost no ethylene and adds nothing.
- Anything cut, bruised or mouldy. Damaged fruit turns the bag into a breeding ground.
- Plastic of any description, including cling film over the top of the bag.
Common Mistakes and Troubleshooting
Damp skins and mould spots. The bag was sealed too tightly or the fruit went in wet. Never wash bananas before ripening; rinse them just before eating. Open the bag more often and line it with a dry cloth.
Slimy, mushy fruit with a boozy smell. Too much heat, or too long in the bag. Throw the bag away and start again with fresh bananas and a cooler spot.
Nothing happening. Cold fruit, a cold room or a bag that is effectively open. Fold the top properly, add a ripe companion and give it more time.
Straight past ripe. This is the most common outcome, because a bag can take bananas from firm to speckled in a matter of hours. Set a reminder on your phone if you are bagging them overnight.
Fridge too early. Refrigeration slows ripening to a crawl and darkens the skins, so a chilled green banana stays green and hard for days. Ripen first, chill afterwards.
After the Bag: Storing and Using Ripe Bananas
Once your bananas are where you want them, get them out of the bag. They will hold for a day or two on the counter, ideally hung up or resting on their sides rather than squashed in a bowl. If you want to stretch them further, move them to the fridge: the skins will blacken over a few days, but the flesh inside stays firm and sweet, which is fine for eating, smoothies and baking.
If they slip past your ideal ripeness, don't bin them. Overripe bananas mash beautifully into banana bread, pancakes and porridge, and they freeze well. Peel them, break them into chunks and freeze in a bag for up to a few months, or mash first and freeze in portions. Frozen banana blended with a splash of milk makes a decent soft-serve style dessert in about a minute.
For everyday use, keep the paper bag trick in reserve: buy your bananas a little greener than you need, keep them away from the rest of the fruit bowl, and bag them the night before you plan to eat them. One bag, one ripe companion and a night on the counter is usually all it takes.
Photo: 1644199 / Pixabay