Ripening Bowls vs Paper Bags vs the Fruit Bowl: Which Works Best?
You have three avocados, one is rock-hard, and dinner is tomorrow. You put one in a paper bag, one in a ripening bowl, and one in the fruit bowl to see which softens first. That experiment sums up most kitchen ripening debates. Each setup changes three things: how much ethylene stays near the fruit, how much moisture is trapped, and how much air moves around it. Get those factors right and you will waste less and eat better.
What each setup actually does
Ethylene is a natural ripening gas. Bananas, avocados, pears, peaches, plums, mangoes, kiwis and tomatoes produce it and respond to it after picking. Berries, citrus, grapes and pineapple do not ripen further once harvested; they only decline. The setup you choose matters mainly for the first group.
- Fruit bowl: open, airy and slow. Ethylene drifts away, moisture evaporates and fruit ripens gradually. Best for fruit you will eat over several days.
- Paper bag: a small, breathable chamber. It holds ethylene close to the fruit and keeps humidity higher, so ripening speeds up. Paper lets some air through, which lowers the mould risk of a sealed plastic bag.
- Ripening bowl: a middle ground. A shallow bowl with a loose cover traps some ethylene and moisture while allowing a little air exchange. A tightly lidded bowl behaves more like plastic and needs more checking.
Speed: paper bags usually win, but not always
For a hard avocado, a firm pear or a stubborn mango, a paper bag is the fastest of the three. Add a ripe banana or apple to increase the ethylene concentration. Fold the top loosely rather than sealing it, and check daily. In a warm kitchen, an avocado can move from hard to ready in a day or two.
A ripening bowl with a loose cover comes second. It is tidier than a paper bag and works well for a small batch of apricots, nectarines or tomatoes. Speed depends on how much of the lid you leave open. Close it fully and you create a humid chamber; the fruit may ripen quickly, but so may mould.
The open fruit bowl is the slowest. That is not a flaw. It is what you want for bananas you will eat across the week, or apples and oranges that are already ripe. If you need speed, the fruit bowl is the wrong tool.
Cost and effort
None of these setups is expensive. The fruit bowl is already on your worktop. A paper bag costs almost nothing, though you will replace it when damp or torn. A ripening bowl is a one-off purchase that can last for years. The real cost is attention.
- Paper bag: lowest upfront cost, highest chance of being forgotten. Write the date on it if you lose track.
- Ripening bowl: reusable and neat, but only worth it if you will open the lid and check the fruit.
- Fruit bowl: no extra kit, but fruit can dry out or bruise. Use a shallow bowl and do not pile it deep.
Mould risk: the factor that decides most experiments
Mould loves moisture, damage and still air. Paper bags and lidded bowls trap more moisture than an open bowl, so they carry more risk. That does not make them unsafe; it makes them setups that need a daily look. A paper bag is generally safer than a plastic bag because it breathes, but it can still grow mould if the fruit is wet, bruised, crowded or left too long.
Reduce the risk with a few habits:
- Dry fruit before it goes in. A rinse is fine, but do not seal wet fruit in a bag or bowl.
- Remove damaged fruit. One soft, mouldy peach can affect its neighbours.
- Leave space. Fruit should sit in a single layer, not a tight heap.
- Open the bag or lid daily. A quick sniff and a gentle press is enough.
- Move ripe fruit out immediately. Ripeness is not a finish line; it is the start of decline.
If you see fuzz, mould or a sour smell, remove the affected fruit and wash the bowl or bin the bag. Do not cut mould off soft fruit and eat the rest; mould can spread beyond what you can see. Discard it.
Match the setup to the fruit
Use this as a starting point, then adjust to your kitchen and how ripe the fruit already is.
- Hard avocados: paper bag, ideally with a ripe banana or apple. Check daily. Once ripe, move to the fridge.
- Pears: paper bag or ripening bowl. Pears ripen from the inside out, so check the neck near the stem.
- Bananas: fruit bowl for gradual eating. For baking tomorrow, a paper bag works; separate them from other fruit if you do not want everything to speed up.
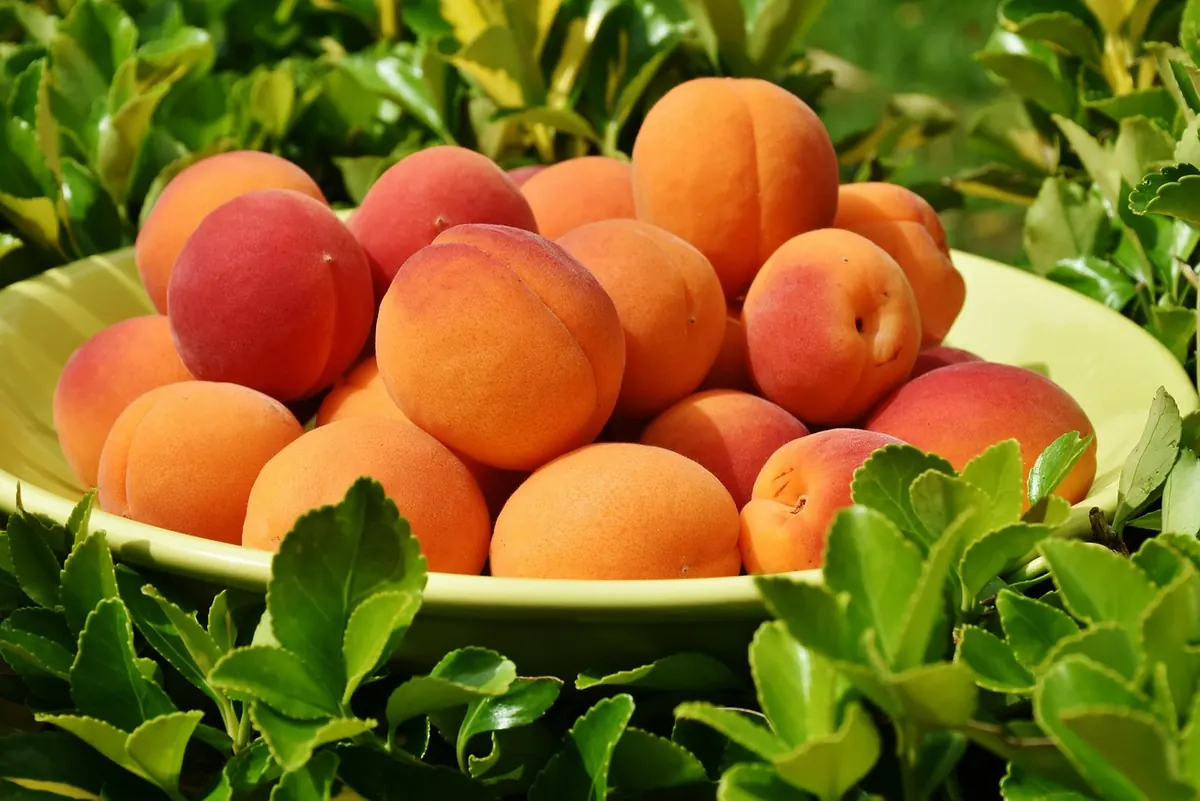
- Stone fruit: ripening bowl with a loose cover, or an open bowl if they are already close. Eat before they turn to jam.
- Tomatoes: open bowl or ripening bowl. Refrigeration dulls flavour, so keep them out until fully ripe.
- Kiwis and mangoes: paper bag for speed, fruit bowl for slower ripening. Both respond to ethylene.
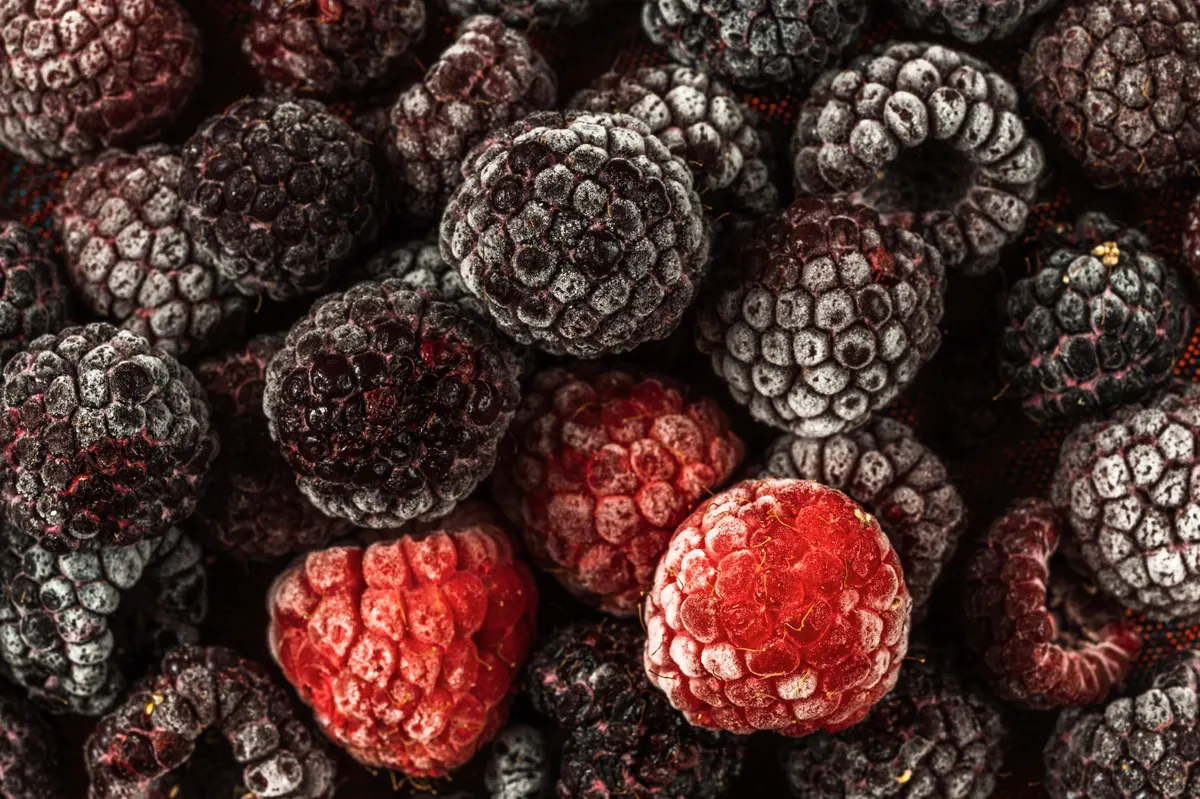
- Berries, grapes and citrus: fridge or fruit bowl, not a sealed ripening setup. They will not improve with more ethylene.
The practical verdict
If you want the fastest result with the least kit, use a paper bag and check it daily. If you want a reusable, tidier version of the same idea, choose a ripening bowl with a loose lid. If you want slow, gradual ripening, the fruit bowl is fine—just do not expect it to rescue a rock-hard avocado overnight.
The best setup matches the fruit and your routine. A paper bag you open every morning beats a perfect bowl you forget for four days. Choose the least fussy option and let the daily check do the work.
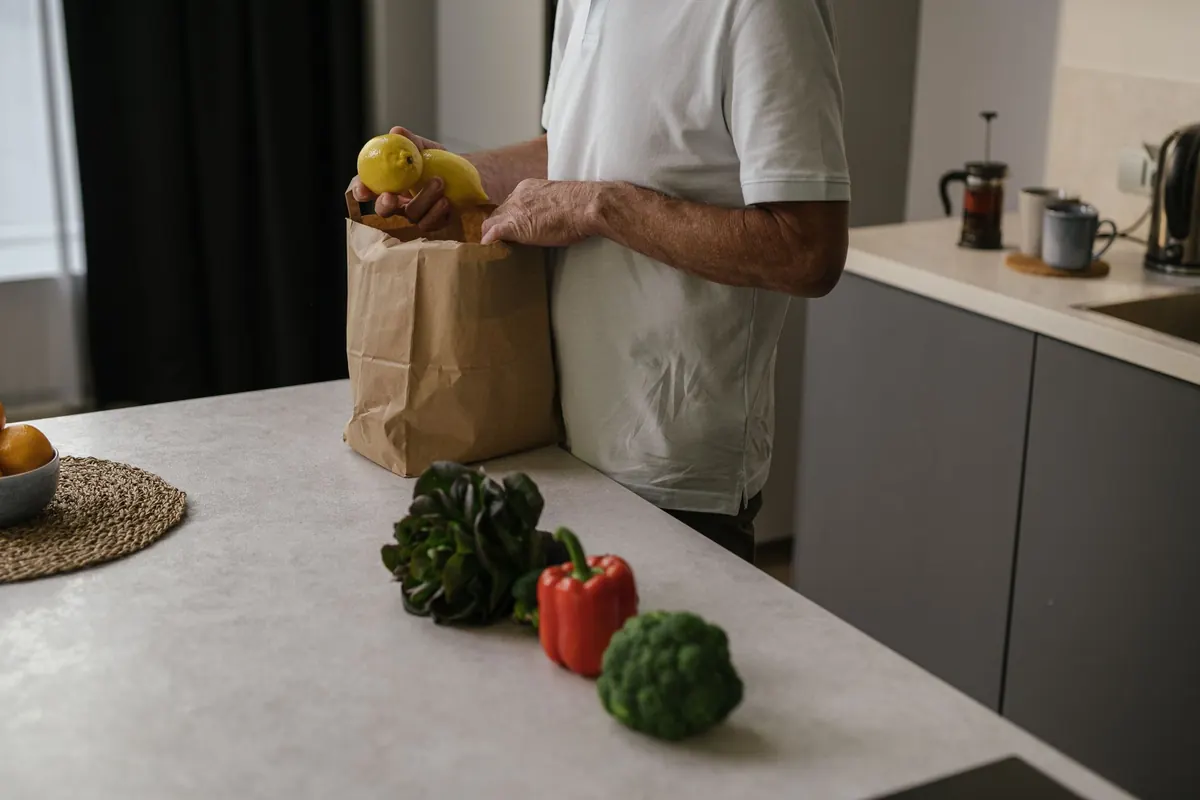
Photo: SHVETS production / Pexels